


· By Temi Olugbenga
How to Sterilise Pickling Jars (If you haven’t got a dishwasher!)
Preserving your favourite fruits and vegetables through pickling is a fantastic way to enjoy their flavours year-round. But for successful pickling, it's crucial to start with clean, sterile jars to prevent any spoilage. In this short Sylt guide, we'll walk you through the simple steps to sterilise your pickling jars and ensure your homemade pickles stay delicious and safe to eat.
Things you’ll need:
- Pickling jars (This one goes without saying)
- Lids and rings
- A large pot
- Water
- Tongs
- Clean kitchen towels or paper towels
So how do we sterilise?
Step 1: Prepping the Jars
First, check your jars, lids, and rings for any visible damage. Cracks or chips can compromise the seal & that is the last thing we want. Wash them thoroughly with warm, soapy water to remove any dust, residue, or lingering odours. Then rinse like your life depends on it.
Step 2: Boil Water
Fill a large pot with enough water to completely submerge your jars, lids, and rings. The pot should be deep enough to allow at least an inch or two of water to cover the jars when they're standing upright.
Step 3: Submerge the Jars
Place your clean jars, lids, and rings into the pot of water. Ensure they are fully submerged.
Step 4: Bring to a Boil
Turn on the stove and bring the water to a rolling boil. Allow the jars to boil for at least 10-15 minutes.
Step 5: Remove with Tongs
Using tongs, carefully remove the sterilised jars, lids, and rings from the boiling water. Be cautious to avoid burns (talking from experience here).
Step 6: Air Dry
Place the hot jars, lids, and rings on a clean kitchen towel or paper towels. Allow them to air dry naturally. Do NOT wipe the inside of the jars, as this can introduce contaminants.
Step 7: Assemble for Pickling
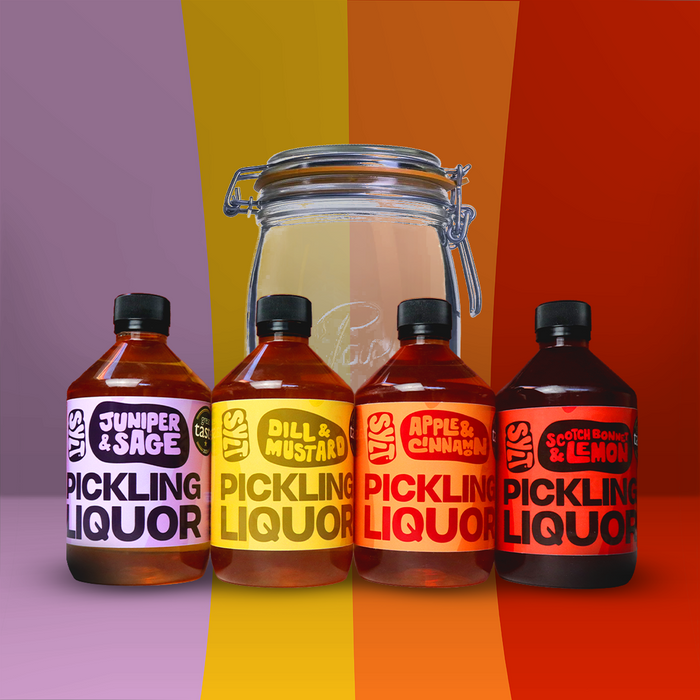
Once your jars and lids are dry, you're ready to fill them with your pickling ingredients and Sylt. Seal the jars with the sterilised lids and rings.
Tips and Tricks:
- Sterilise your jars shortly before you're ready to start the pickling process to ensure they remain clean.
- It's best to use canning-specific jars with two-piece lids, as these are designed for safe and reliable sealing.
- Always handle hot jars with care, using oven mitts or a towel if necessary to prevent burns.
By following these simple steps, you'll have perfectly sterilised pickling jars ready for your next batch of homemade pickles. Sterilisation is a vital part of the pickling process, ensuring that your preserved goods stay delicious, safe, and shelf-stable. So, roll up your sleeves, get your jars ready, and start pickling your favourite fruits and vegetables today!
Or, erm... Just use your dishwasher.